
Picture a sales report with five pages. A user picks 2025 and West on the Overview page, then moves to the Product Analysis page and sees data for every year and every region again. They have to pick the same values on every page, and that gets old quickly.
Power BI fixes this with sync slicers. A selection made on one page carries over to every other page you choose. In this tutorial, I’ll show you how to sync slicers in Power BI across multiple pages, keep a synced slicer hidden on some pages, set up sync groups, and fix the most common sync problems.
You can download the Excel file here: Sync_Slicers_Power_BI_Sales_Data.xlsx.
If you’re new to slicers, read how to add slicers to a Power BI report first.
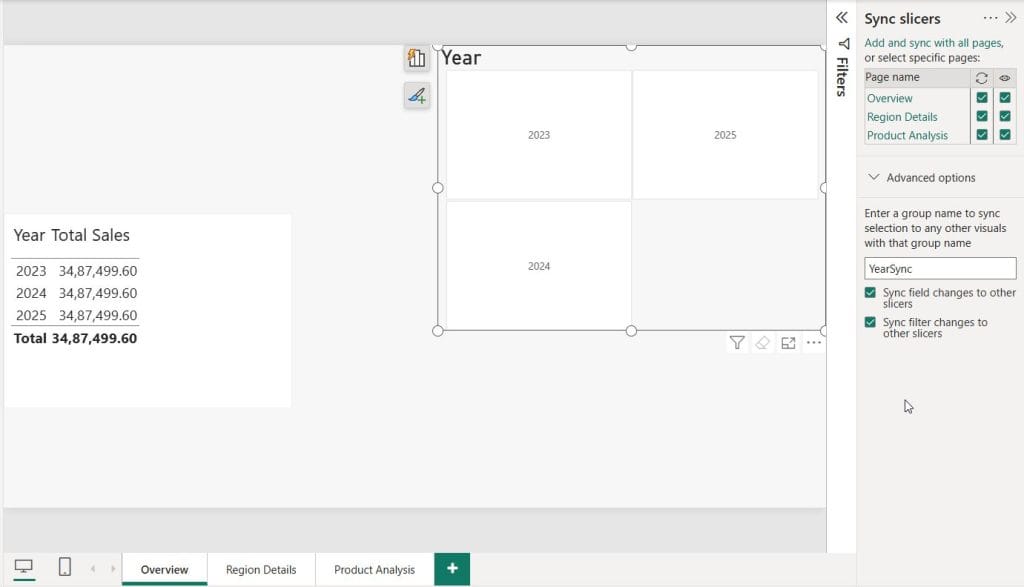
What Are Sync Slicers in Power BI?
Sync slicers let one slicer selection filter more than one report page. When you sync a slicer, Power BI does one of two things:
- It keeps a single slicer selection in step across all the pages you choose.
- It can also place a copy of the slicer on those pages, or keep it hidden there and still filter the visuals.
You set this up in the Sync slicers pane. For each page, the pane has two checkboxes:
| Option | Icon | What it does |
|---|---|---|
| Sync | Refresh arrows | The page uses the slicer’s selection |
| Visible | Eye | The slicer shows up on that page |
With these two options, you can build a few common report layouts:
- Synced and visible: Users can see and change the slicer on every page.
- Synced but hidden: The page is filtered, but the slicer doesn’t take up space on it.
- Visible but not synced: The slicer filters only the page it’s on.
Sync Slicers vs. Report-Level Filters
You might ask why you’d sync slicers when you could add a report-level filter in the Filters pane. Here’s how they compare:
| Feature | Sync Slicers | Report-Level Filter |
|---|---|---|
| Shown on the report canvas | Yes (optional) | No, it’s in the Filters pane |
| Choose which pages it affects | Yes, page by page | No, it applies to all pages |
| Easy for business users | Very | Less obvious |
| Can be hidden on some pages | Yes | Not applicable |
For a full comparison, see Power BI Filter vs Slicer. You can also learn how to add filters in Power BI.
Prerequisites
Before you start, check that you have:
- Power BI Desktop installed (the latest version is best).
- A report with at least two pages.
- A data model where the slicer field can filter the visuals on each page through relationships.
For this example, I’m using a Sales dataset with these pages:
- Overview: KPI cards and a trend chart
- Region Details: a map and a matrix
- Product Analysis: a bar chart and a table
You can download the Excel file here: Sync_Slicers_Power_BI_Sales_Data.xlsx. It has the Sales, Date, Region, Products and Customers tables used in this tutorial.
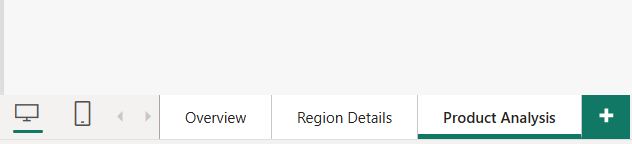
Step 1: Add a Slicer to the First Page
- Open the Overview page.
- In the Visualizations pane, select the Slicer visual.
- Drag the Year field from your Date table into Field.
- Format the slicer. For example, set the style to Dropdown or Tile.
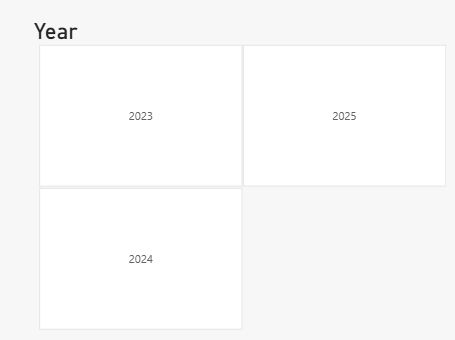
Want a different layout? See how to build a Power BI slicer dropdown or Power BI slicer buttons.
Step 2: Open the Sync Slicers Pane
- Select the slicer on the canvas.
- Go to the View ribbon.
- Click Sync slicers.
The Sync slicers pane opens next to the Filters and Visualizations panes. It lists every page in your report.
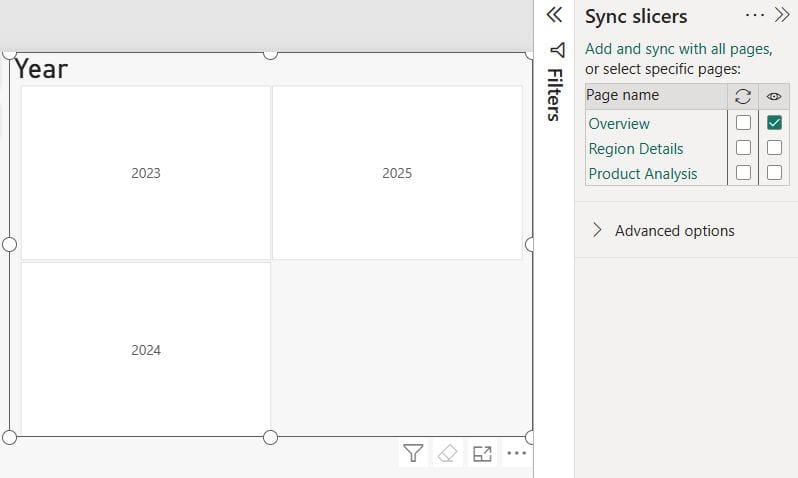
Tip: If the pane shows the message “Select a slicer to sync it with other pages”, click the slicer on the canvas first.
Step 3: Sync the Slicer Across Multiple Pages
In the Sync slicers pane:
- Under the Sync column (🔄), check every page that should use the slicer selection.
- Under the Visible column (👁), check the pages where the slicer should appear.
To apply the slicer to all pages quickly, click Add and sync with all pages at the top of the pane.
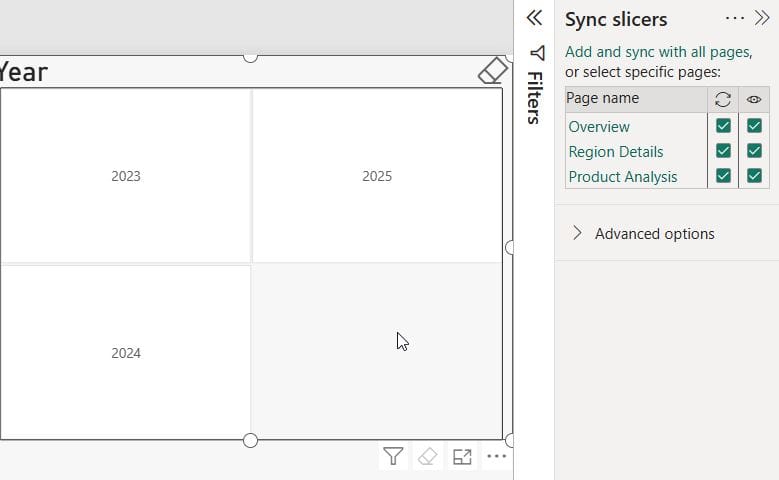
When you check Visible for a page, Power BI places a copy of the slicer on that page in the same position.
Step 4: Test the Synced Slicer
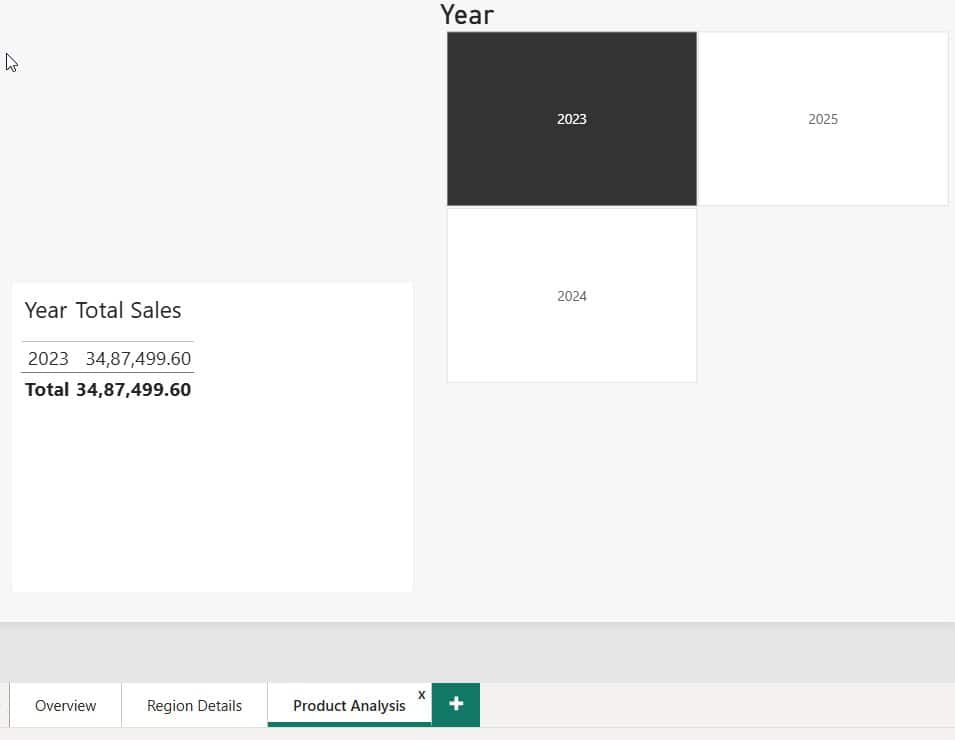
- On the Overview page, select 2025 in the Year slicer.
- Go to Region Details. The slicer shows 2025, and the visuals are filtered.
- Go to Product Analysis. You should see the same result.
- Change the selection on any page. The other synced pages update to match.
Step 5: Sync a Hidden Slicer (Filter a Page Without Showing the Slicer)
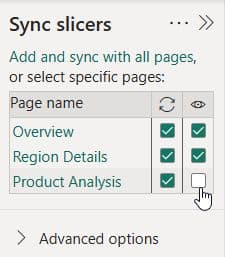
Sometimes a page needs the filter but has no room for the slicer, like a detail page or a drill-through page. In that case:
- Select the slicer and open the Sync slicers pane.
- For that page, check Sync 🔄 and leave Visible 👁 unchecked.
The page is still filtered by the selection made on other pages, but the slicer doesn’t show.
Watch out: Report users can’t see hidden synced slicers, so they may not know why a page shows less data. Add a card or title that shows the active filter. See how to get the selected value from a slicer.
A simple dynamic title measure:
Selected Year Title =
"Sales Report – " &
IF (
    ISFILTERED ( 'Date'[Year] ),
    CONCATENATEX ( VALUES ( 'Date'[Year] ), 'Date'[Year], ", " ),
    "All Years"
)
New to DAX? Start with how to create a measure in Power BI.
Step 6: Sync by Copying and Pasting a Slicer
You can also sync a slicer by copying it:
- Select the slicer and press Ctrl + C.
- Go to another page and press Ctrl + V.
- Power BI asks: “Do you want to sync these visuals?”
- Click Sync.
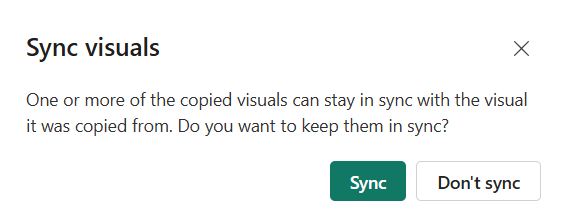
If you click Don’t sync, you get an independent copy of the slicer that filters only its own page.
Step 7: Use Sync Groups (Advanced Options)
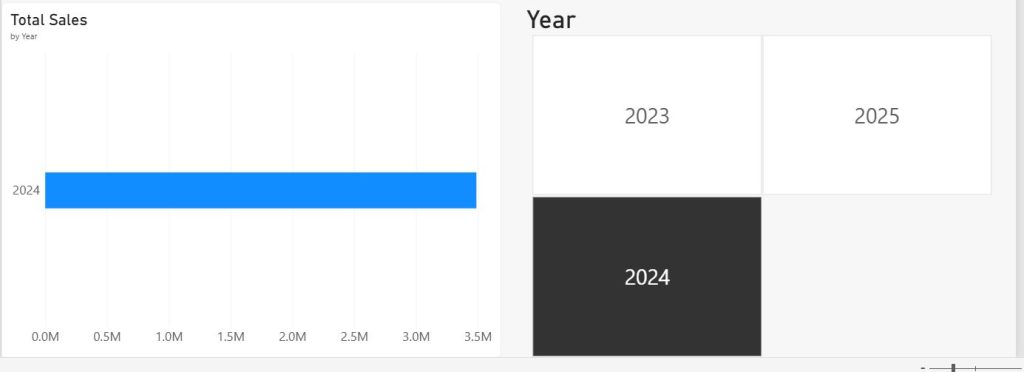
Sync groups let you sync different slicer visuals, such as a dropdown on one page and tiles on another, as long as they use the same field.
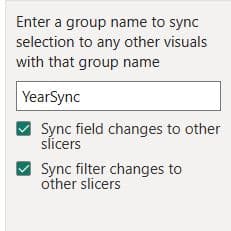
- Select the slicer and expand Advanced options in the Sync slicers pane.
- Enter a Group name, for example
YearSync. - Choose one or both options:
- Sync field changes to other slicers: If you swap the field on one slicer, the change applies to the others in the group.
- Sync filter changes to other slicers: A selection in one slicer updates the others in the group.
- Select the other slicer and enter the same group name.
This works well when each page needs a different slicer style but should still share one selection.
Step 8: Publish and Verify in the Power BI Service
- Save the report and click Publish.
- Open the report in the Power BI service.
- Test the slicer on several pages.
When Persistent filters is turned on, Power BI also remembers each user’s last slicer selection between visits. To give users an easy way back to the default view, use Reset to default in the service.
You can also set a starting selection. See how to set a default value in a Power BI slicer.
Real-World Example: Year + Region Sync Across a Sales Report
Here’s a setup I use often in client reports:
| Page | Year Slicer | Region Slicer |
|---|---|---|
| Overview | Sync ✅ Visible ✅ | Sync ✅ Visible ✅ |
| Region Details | Sync ✅ Visible ✅ | Sync ✅ Visible ❌ |
| Product Analysis | Sync ✅ Visible ❌ | Sync ✅ Visible ❌ |
| Customer Drillthrough | Sync ✅ Visible ❌ | Sync ❌ Visible ❌ |
The Overview page is the main place where users pick filters. The detail pages stay uncluttered but still follow those selections.
For more slicer layout ideas, see how to create a Power BI slicer panel.
Sync Slicers Not Working? Common Problems and Fixes
| Problem | Cause | Fix |
|---|---|---|
| Visuals on another page don’t filter | Sync isn’t checked for that page | Check 🔄 for that page in the Sync slicers pane |
| Slicer filters some visuals but not others | Missing or inactive relationships | Check the model relationships |
| Slicer has no effect on one visual | Edit interactions set to “None” | Format → Edit interactions → set to Filter |
| Copied slicer doesn’t sync | You clicked “Don’t sync” | Delete it and paste again, or add a group name |
| Two slicers in a group don’t sync | Different fields or group names | Use the same field and the exact same group name |
| Blank value shows in synced slicer | Blank rows in the data | See how to remove blank values from a slicer |
| Custom slicer won’t sync | Some AppSource visuals don’t support sync | Use the built-in slicer visual |
Best Practices for Sync Slicers in Power BI
- Put main slicers in the same position on every page. Users then know where to look.
- Use hidden synced slicers on detail pages to save space, and show the active filter in a dynamic title.
- Name your slicers in the Selection pane (for example, “slc_Year”) so the setup is easier to maintain.
- Don’t sync too many slicers. Three or four key slicers are usually enough.
- Use sync groups when pages need different slicer styles.
- Check bookmarks. Bookmarks capture slicer state, so test them after you change sync settings.
- Combine sync with slicer filtering. For example, use a slicer that filters another slicer to build cascading selections.
Frequently Asked Questions
How do I apply one slicer to all pages in Power BI?
Select the slicer and go to View → Sync slicers. Then click Add and sync with all pages.
Can I sync a slicer without showing it on other pages?
Yes. In the Sync slicers pane, check Sync and uncheck Visible for those pages.
Can I sync slicers between two different Power BI reports?
No. Sync slicers work only between pages in the same report. To share filters across reports, use the same semantic model and pass filters with URL parameters or drill-through.
Why is my synced slicer not filtering a visual?
Usually there’s a missing relationship in the model, or Edit interactions is set to None for that visual.
Can different slicer types be synced together?
Yes. Use the same field and give both slicers the same Group name in Advanced options.
Do sync slicers work with date range slicers?
Yes. Date slicers sync the same way. For setup details, see Power BI slicer between two dates.
Conclusion
Sync slicers are a simple way to keep a multi-page Power BI report consistent. In this tutorial, you learned how to:
- Open the Sync slicers pane
- Sync slicers across multiple pages or all pages
- Use hidden synced slicers
- Sync slicers by copying and pasting
- Set up sync groups
- Fix common sync problems
Users pick a filter once, and every page follows it.
You may also like:
- Power BI Slicer Multiple Selections
- Power BI Slicer Search Box
- Power BI Measure Based on Slicer
- Power BI Slicer with Multiple Columns
- Create a Dashboard in Power BI

I have worked with Microsoft technologies for more than 18 years, including SharePoint, Microsoft 365 and the Power Platform (Power Apps, Power Automate and Power BI), at companies like HP, TCS and KPIT. I started EnjoySharePoint in 2011 to share the solutions I build in real projects with readers in the United States, Canada, the United Kingdom, Australia, New Zealand and beyond. Microsoft has recognized this work with the Microsoft MVP award 13 times since 2014.